How to Replace Your Car’s ECM in 2026 (Step-by-Step Guide)
Replacing an Engine Control Module (ECM) is a plug-and-play job most vehicle owners can handle in 30 to 60 minutes with basic hand tools. The physical swap is straightforward: disconnect the battery, unbolt the old module, plug in the new one, and reconnect. The real variable is programming. A replacement ECM needs to be flashed with your vehicle’s VIN and anti-theft data before the engine will start.
If you order a module that ships pre-programmed to your VIN, you skip the dealer visit and programming fee entirely. If you buy an unprogrammed unit, you will need a dealer, locksmith, or shop with J2534 pass-through software to complete the job.
Key Takeaways
- The physical install takes 30 to 60 minutes with a socket set, screwdriver, and battery wrench. No specialized tools required for the swap itself.
- Programming is the critical step. Every replacement ECM needs VIN and anti-theft data loaded before the engine will start. Pre-programmed modules eliminate this step.
- ECM replacement costs $250 to $1,500 depending on the source. Dealer replacement runs $800 to $1,500 for parts and labor. A remanufactured, VIN-programmed module costs $250 to $600.
- Most ECMs are located in the engine bay near the battery or firewall. Some Toyota and Honda models mount the ECM behind the glove compartment inside the cabin.
- Idle relearn is required after installation. Let the engine idle for 10 to 15 minutes and take a short test drive so the new ECM calibrates to your engine’s fuel and air mixture.
Signs Your ECM Needs Replacing
A failing ECM shows predictable symptoms. The check engine light stays on after you have replaced sensors, coils, or other components the diagnostic codes pointed to. The engine stalls, misfires, or refuses to start. Fuel economy drops without explanation. The transmission shifts erratically.
The most telling sign is a diagnostic scan that returns no communication with the ECM. That typically means the module itself has failed, not just a sensor downstream from it. If you are seeing multiple unrelated fault codes clear and return, the ECM is a likely culprit. Confirm the diagnosis before ordering a replacement. A full breakdown of failure symptoms is in our bad ECM symptoms guide.
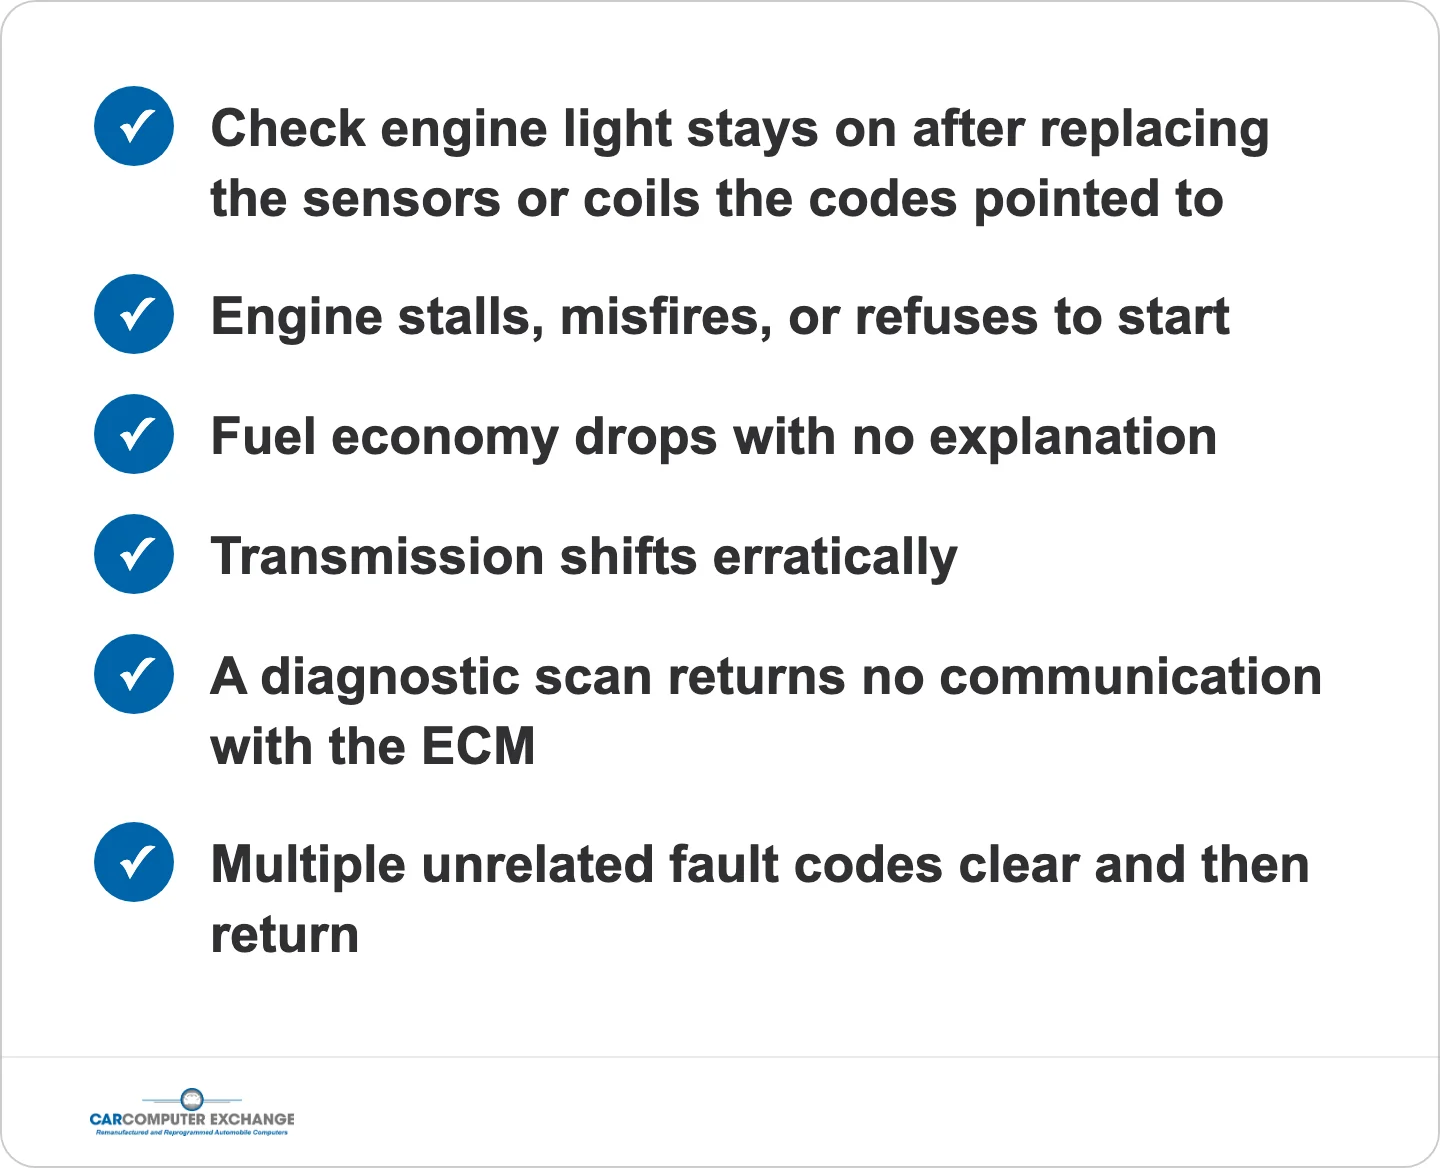
Symptoms that point to the module itself rather than a sensor downstream of it.
Tools and Supplies You Need
You do not need specialized equipment for the physical swap. Gather these before you start:
- Socket set (8mm, 10mm, 12mm covers most mounting bolts)
- Screwdriver set (Phillips and flathead)
- Battery terminal wrench or 10mm socket
- Anti-static wrist strap (ECMs are sensitive to static discharge)
- Clean rags and electrical contact cleaner
- Torque wrench (optional, for reinstalling to spec)
- OBD-II scanner (optional, for clearing codes and post-install verification)
- Your vehicle’s owner’s manual (for ECM location)
How to Replace an ECM (Step-by-Step)
- Disconnect the battery. Remove the negative battery terminal first. Wait 15 to 20 minutes for residual power to drain from the electrical system. This prevents short circuits and protects the new module from voltage spikes.
- Locate the ECM. Check your owner’s manual for the exact position. On most domestic vehicles (Ford, Dodge, Chrysler, Jeep, GM), the ECM sits in the engine bay near the battery, fuse box, or firewall. On some Toyota, Honda, and Lexus models, the ECM is inside the cabin behind the glove compartment or under the passenger-side kick panel.
- Remove the old ECM. Unlock and carefully disconnect the electrical wiring harnesses. Use a socket wrench to remove the 2 to 4 bolts securing the module to its mounting bracket. Before pulling the old unit out, inspect the connectors and pins for corrosion, bent pins, or frayed wiring. Clean corroded terminals with electrical contact cleaner. Damaged wiring or connectors should be repaired before installing the new module.
- Install the new ECM. Wearing an anti-static wrist strap, seat the new module into the mounting bracket. Secure it with the original bolts. Plug the wiring harnesses back in and push each connector until it clicks and locks. A loose connector is the most common cause of a “new ECM, still won’t start” call.
- Reconnect the battery. Reattach the negative battery terminal. Turn the ignition to the ON position (do not start the engine yet) and wait 30 seconds for the ECM to initialize. If the module is pre-programmed to your VIN, start the engine. If it is unprogrammed, the engine will not start until the ECM is programmed with your vehicle’s VIN and anti-theft data.
ECM Programming and Relearning
Every replacement ECM needs your vehicle’s VIN, anti-theft data, key codes, and emissions calibration loaded before the engine will recognize it. The physical swap is only half the job. Programming is what makes the new module work with your specific vehicle.
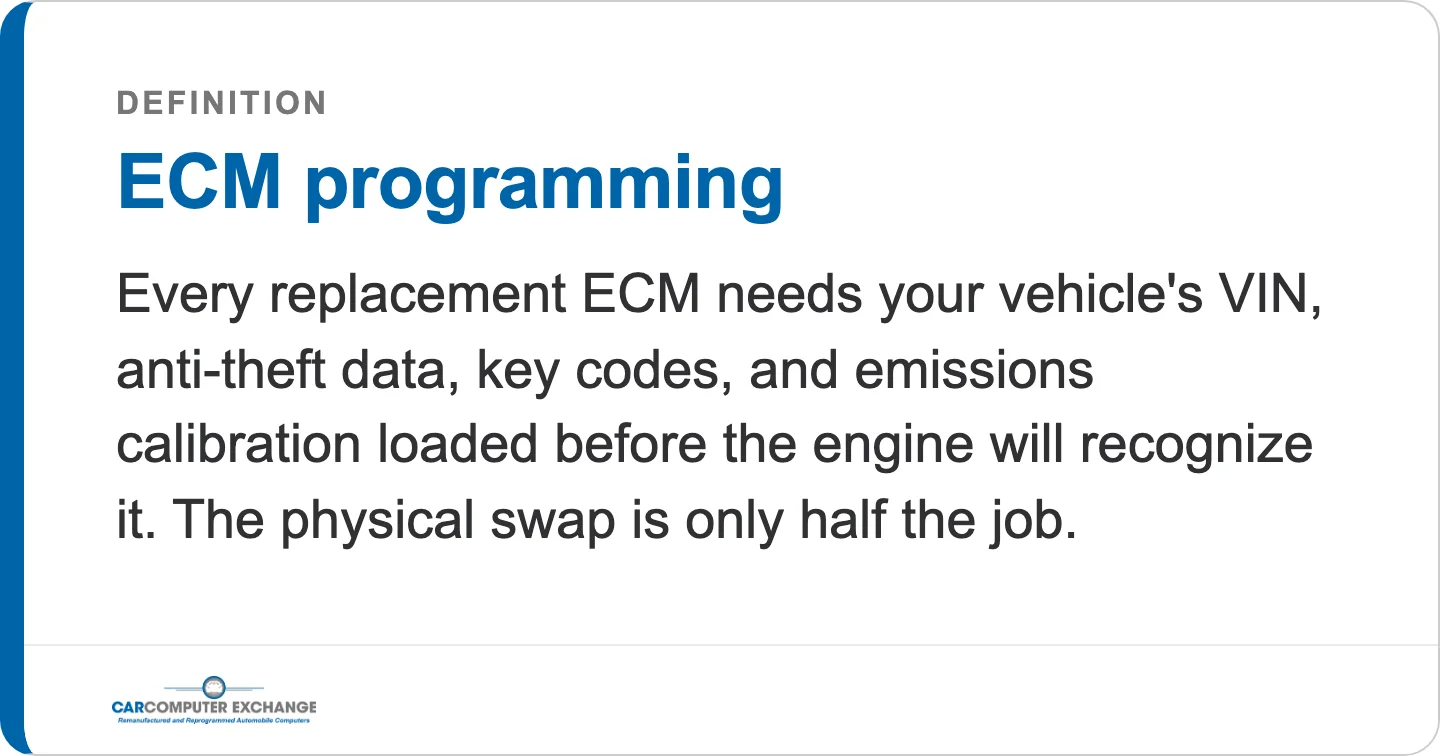
The step that trips up most DIY ECM swaps.
VIN and Immobilizer Programming
Every modern vehicle (post-1996 OBD-II) ties the ECM to the VIN and the immobilizer system. The specific system varies by manufacturer:
- Chrysler/Dodge/Jeep: SKIM (Sentry Key Immobilizer Module) pairs the ECM to the key fobs. Requires a scan tool or dealer software to sync.
- Ford: PATS (Passive Anti-Theft System) links the ECM to the transponder keys. Two programmed keys are needed to add a third.
- GM/Chevy: The Vehicle Anti-Theft System (VATS or PK3) requires a dealer-level scan tool (Tech 2 or MDI) or J2534 pass-through device for programming.
- Toyota/Honda: The ECM must be registered to the vehicle’s immobilizer ECU via a dealer scan tool or aftermarket J2534 device.
A VIN-programmed remanufactured ECM arrives with your vehicle’s VIN, key codes, and latest factory software already loaded. You plug it in and the engine starts. No dealer visit, no scan tool, no programming fee.
An unprogrammed module from a salvage yard or generic parts supplier requires a dealer, locksmith, or mobile calibration service to flash it before the engine will start.
Idle Relearn Procedure
After the engine starts with the new ECM, the module needs to relearn your specific engine’s idle and fuel mixture. This process is the same whether the module was pre-programmed or dealer-flashed:
- Start the engine and let it idle for 10 to 15 minutes without touching the throttle. The ECM is sampling sensor data to build its baseline fuel map.
- Turn off the engine. Wait 60 seconds. Restart.
- Drive the vehicle for 10 to 15 minutes at varying speeds (city streets, not highway). The ECM calibrates its shift points, fuel trims, and emissions parameters during this drive cycle.
- The check engine light may come on during the first drive cycle. This is normal. It should clear after 50 to 100 miles of driving as the ECM completes its adaptive learning.
Where Is the ECM Located? (By Make)
ECM location varies by manufacturer and model year. Here are the most common placements for the makes we service:
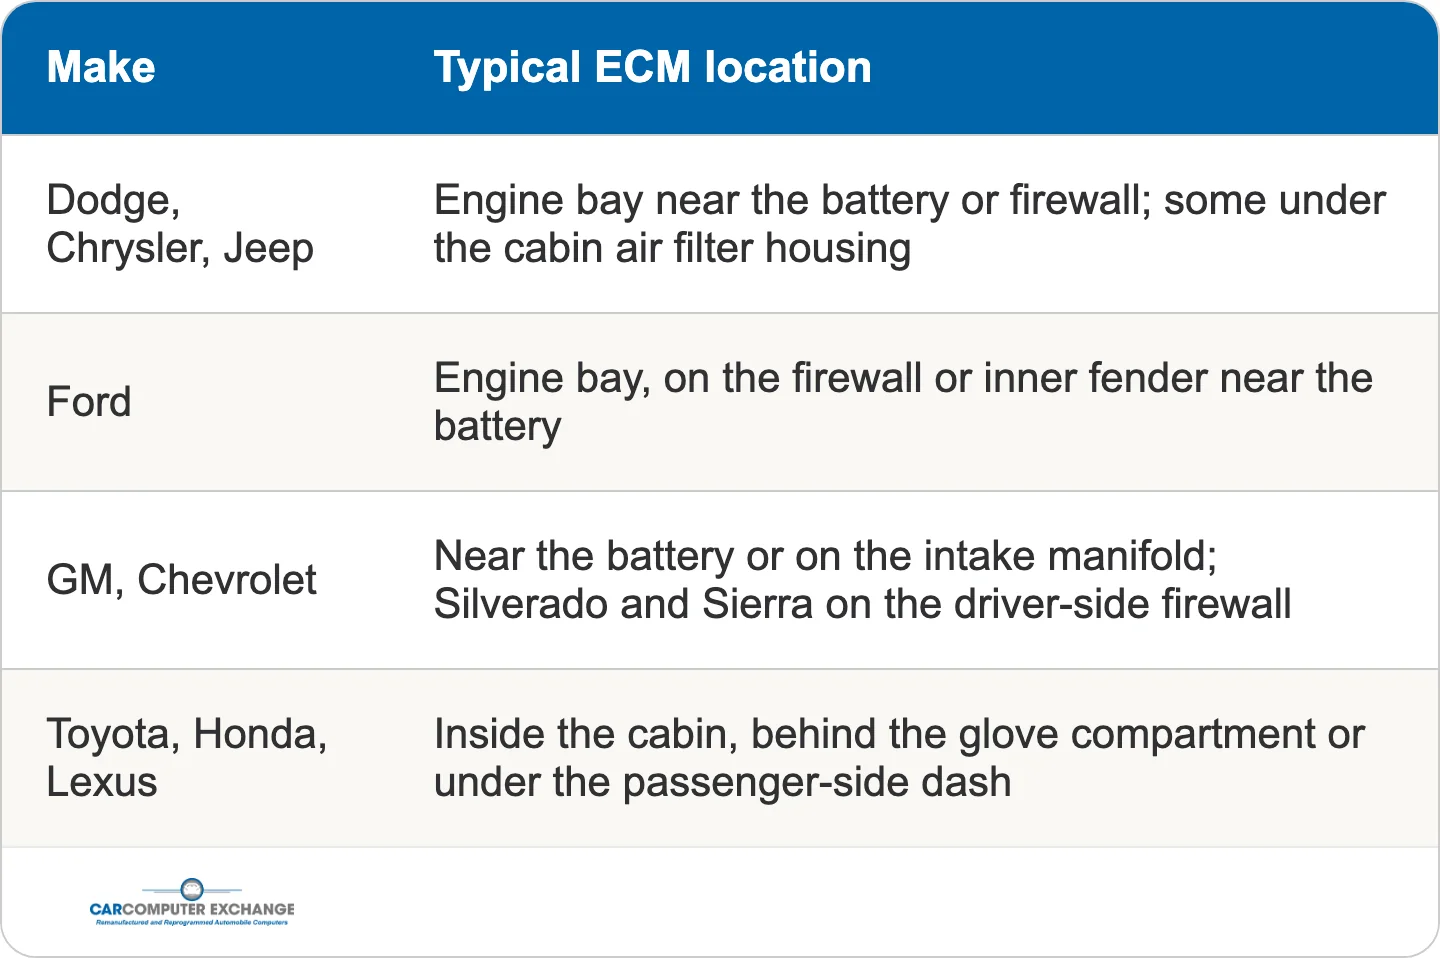
Where each manufacturer typically mounts the ECM. Check your owner’s manual for your exact model year.
Dodge, Chrysler, and Jeep
Late-model Dodge vehicles place the ECM in one of two spots: under the cabin air filter housing or mounted next to the battery on the opposite side of the engine bay. Chrysler 300 and Town & Country models typically mount the ECM near the battery. Jeep Wrangler and Grand Cherokee ECMs sit in the engine bay near the firewall. Check your owner’s manual for the exact location on your model year. Our Dodge ECM location guide covers specific models in detail.
Ford
Ford F-150, Explorer, Expedition, and Mustang ECMs (Ford calls them PCMs) are almost always in the engine bay, mounted to the firewall or inner fender near the battery. The connector faces down and is secured by 2 to 3 bolts. Ford PCMs are some of the most straightforward to access.
GM and Chevrolet
GM vehicles place the ECM (or PCM) near the battery or on the engine’s intake manifold. Silverado and Sierra trucks mount it on the driver-side firewall. Malibu and Cruze sedans place it behind the air filter box. GM ECMs are reliably positioned in the engine bay, making them easier to locate than some imports.
Toyota, Honda, and Lexus
Toyota and Honda often mount the ECM inside the cabin rather than in the engine bay. Toyota Camry and Corolla ECMs sit behind the glove compartment. Honda Accord and Civic ECMs are under the passenger-side dashboard. This means removing a dashboard panel to access the module. Cabin-mounted ECMs require extra care during removal because the location exposes the module to less heat but more static.
ECM Replacement Cost
ECM replacement costs vary significantly depending on your source:
- Dealer replacement: $800 to $1,500 for parts and labor, according to CarParts.com. The dealer charges for the OEM module, programming, and 1 to 2 hours of labor.
- Remanufactured, VIN-programmed module: $250 to $600. Ships ready to install with no additional programming cost. Includes a lifetime warranty with core return.
- Aftermarket ECM (unprogrammed): $150 to $800 depending on vehicle and quality tier, according to PartCatalog. Budget modules start around $150 while premium aftermarket units run up to $800. Most still require dealer programming after installation.
- ECM repair service: $150 to $600 for send-in repair of your existing module, depending on the failure. Only an option if the module has a repairable fault (capacitor failure, solder joint crack). See our ECM repair cost breakdown for details.
The cost difference between dealer and remanufactured is driven by programming. A dealer includes the programming fee in the $800 to $1,500 total. A pre-programmed module eliminates that fee entirely.

The gap is the programming fee. A dealer builds it into the total; a pre-programmed module removes it.
Can You Replace an ECM Yourself?
Yes. The physical installation requires no specialized skills or tools beyond a basic socket set. If you can change a car battery, you can swap an ECM. The module is held in place by 2 to 4 bolts and one or two wiring harness connectors.
The deciding factor is programming. If you order a module pre-programmed to your VIN, the entire job is DIY from start to finish. If you buy an unprogrammed module, you will need a professional with a scan tool or J2534 pass-through device to complete the programming step after installation.
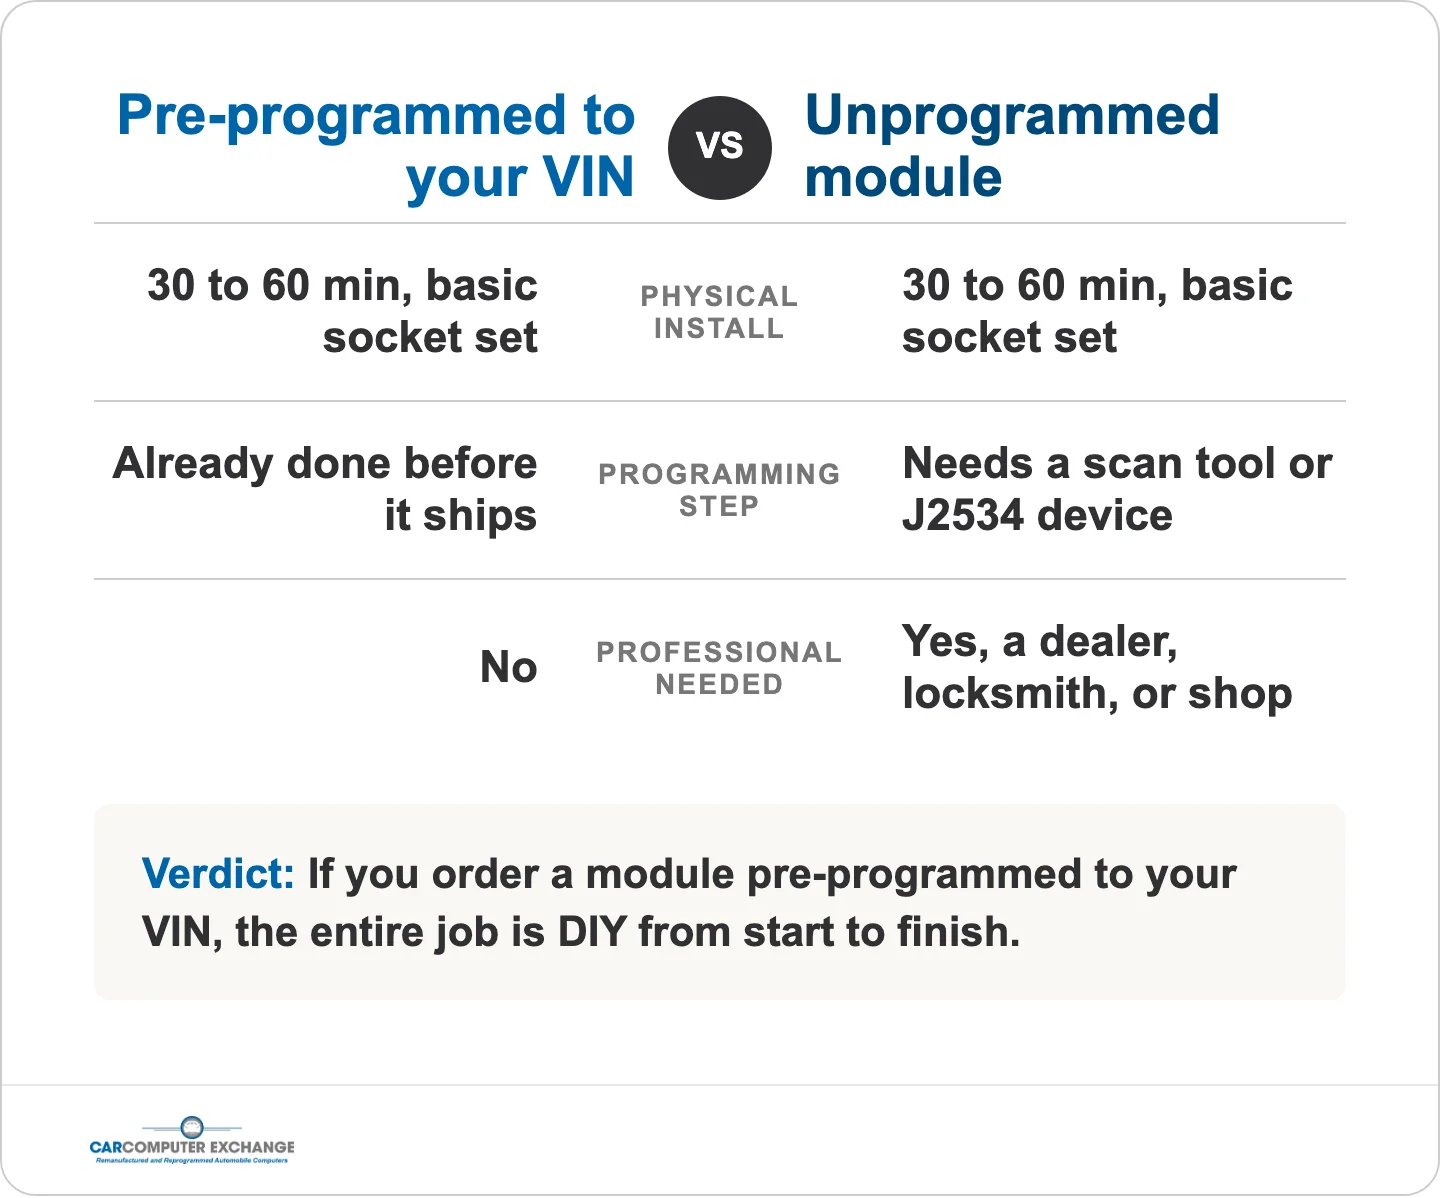
Whether this is a DIY job comes down to one thing: how the module arrives.
One scenario where professional installation is worth considering: vehicles with the ECM mounted inside the cabin behind the dashboard. The removal requires pulling interior panels, and a misstep can damage clips or trim pieces.
FAQ
Is replacing an ECM worth it?
Replacing a failed ECM is almost always worth it if the rest of the vehicle is in good condition. The ECM controls fuel injection, ignition timing, emissions, and transmission shifting. Without a functioning module, the vehicle will not run properly or at all. A remanufactured ECM costs a fraction of what the vehicle is worth, and the repair restores full functionality.
How much does it cost to replace an ECM?
A remanufactured, VIN-programmed module runs $250 to $600 and ships ready to install. Dealer replacement with an OEM part runs $800 to $1,500 including programming and labor, according to CarParts.com. Unprogrammed aftermarket units start lower ($150 to $800 for the part) but require separate dealer programming after installation.
Can I still drive with a bad ECM?
Driving with a failing ECM is risky. A partially failed module may cause stalling, misfires, poor fuel economy, and unpredictable transmission behavior. A completely failed ECM will prevent the engine from starting. If the vehicle runs but shows multiple unrelated fault codes, get the ECM tested before driving long distances.
Can I replace an ECM myself?
Yes. The physical swap is a straightforward bolt-on, plug-in job that takes 30 to 60 minutes. The key is ordering a module that ships pre-programmed to your VIN so you do not need a dealer or scan tool for the programming step. If you buy an unprogrammed module, you will need professional programming after installation.
The Bottom Line
Replacing your car’s ECM is one of the more accessible repairs you can do yourself. The physical installation is a 30-to-60-minute job with basic hand tools. The only complexity is programming, and that is solved by ordering a module that ships ready to install.
Car Computer Exchange ships remanufactured ECMs pre-programmed to your VIN with the latest factory software. Every module passes a 13-point quality check on a vehicle simulator that tests fuel maps, spark timing, transmission logic, and anti-theft integration. You plug it in and drive.
Browse Ford, Dodge, or Jeep modules, or search by year, make, and model to find the exact replacement for your vehicle.
Sources
- CarParts.com: Bad Engine Control Module Symptoms, Repair, Replacement Cost
- PartCatalog: ECM Replacement Cost, What to Expect and Save Money
- U.S. Mobile Calibrations: Step-by-Step Guide to Replacing Your Vehicle’s ECM
- ARES Technologies: Why Your Replacement ECM Needs Programming
- Blue Springs Ford Parts: How to Replace a Ford Engine Control Module
- Olathe Toyota Parts Center: How to Replace a Toyota Engine Control Module
- Tom’s Foreign Auto Parts: How to Replace an Engine Control Module